Wednesday 2 December 2015

Ink Blending ~ Winter Season

To make this card I used the products listed below

The Winter Trees stamp set
Colour Chemistry Ink Pads
I used Triple Autumn Leaves and Triple Fruity Reds 
Colour Chemistry Black pigment ink pad

Black permanent ink pad
Fusible fibres and Fantasy film
White paint pen
Glitter brush pen


This is the end result 


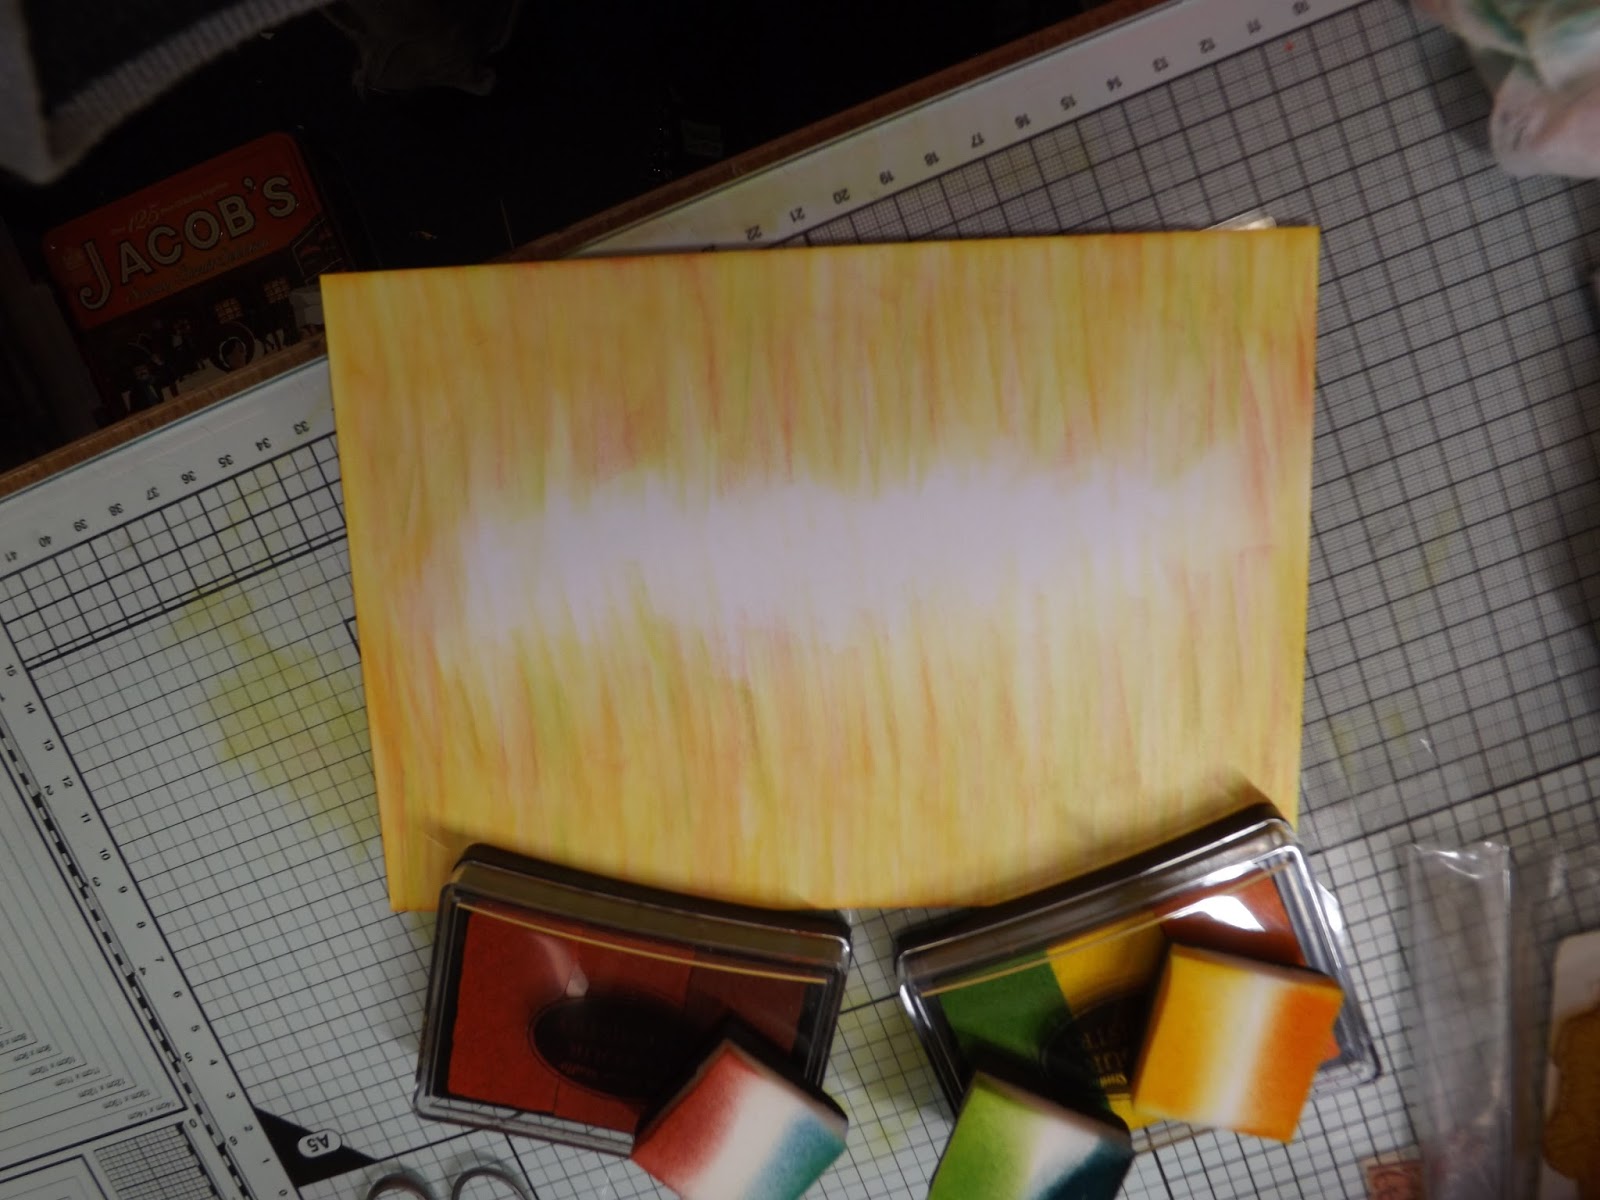
It starts like this ... looks a bit of a mess at this stage  ... agreed ?


Use the Black and cover the top an bottom and a little down the sides


Looks a bit better once the trees are stamped in place, using the Black Permanent Ink Pad.

 Add some highlights with the glitter brush pen. Add the random snow effect using the white paint pen.


Take some Fusible fibre and Fantasy film and make a sandwich, ink up the word stamps from the set masking off the last 's' from seasons. place sandwich over the inked up stamps and then cover with some greaseproof paper. Using a hot iron fuse the sandwich. I then cut off the excess close to the words but if you prefer to leave more of the film that is ok too. 


As with all things like this you must stay with it to the end to get a better feel of the technique although I must confess, I didn't think much of it myself to start with but it comes good in the end.

Thank you for looking

love  Doreen

Monday 23 November 2015

Stamp of the Week samples

I have used the Double Dragon stamp set to make these samples along with other Oriental stamps available on the site 


http://www.oakhousestudio.com/ourshop/prod_2487941-Double-Dragon-Stamp-set.html

Thank you for looking

love Doreen

Sunday 15 November 2015

The Little Experiment


The Little Experiment


Well folks this is quite an easy thing to do if a little time consuming.
It was suggested to me by Lynnda Worsnop of Oak House Studio.

Firstly I used Oak House Studio stamps to experiment with and would suggest that if you want to try any others try ones you won't be to upset to loose but it should be fine. 

I used the Dog Rose Corner Stamp ( link below ) 


Cover the stamp in pva glue and leave to dry, not to thickly as it will take an age to dry out and be very thick when it eventually does ! Just thick enough that you can't see the stamp beneath.

When dry peel it off the stamp very carefully ( where there are areas of more depth you will find that it will not go see through ) leave to dry for about another hour and then trim the edges off  the pva. It is quite delicate but take things carefully and all will be fine. I coloured the back of the pva leaving the smooth side for the upper most side. 

I then stamped a sentiment onto a black piece of card and cut to size required. When inks are dry use pinflair to attatch to prepared card and mount onto a card base.

I hope you have fun with this technique and will try colouring the pva before use as I intend to do ..... nothing ventured, nothing gained as they say. 

Thank You for Looking 

Love Doreen


Wednesday 4 November 2015

Oriental Dragons

Oriental Dragons

Products needed to make this card include :

Versamark Ink Pad
Black Card 
Red Vellum 
1 DL Blank Card
Red Alcohol Marker 
Gold Embossing Powder
Gilding Flakes
A Small Piece of Cut and Dry
PVA Glue


Cut Vellum, Black Card and White Card to fit for matting and layering.
Take Black card and using either talc or an anti static bag dust the card.
Stamp the Serenity Prayer from the Oriental companion set and stamp using versamark, cover with embossing powder and tap off in usual way and heat set.
Whilst you have the versamark and embossing powder out you can do the 3 coins on some of the remainder of the black card.

Next I used the piece of cut and dry and pva to make a glue pad ... just add a teaspoon of the glue and work it into the cut and dry. Dust another piece of the black card ready for use, ink up the dragon stamps with the ' Glue pad '  in the same way you would use an ink pad. Put the stamps straight into water to soak the remainder of the glue off. These will clean off very well with no effort.

Using the gilding flakes of choice cover the Stamped Dragons and buff to a shine. Then put to one side to cut out. This will take a while.

Take the bamboo stamp from the oriental companions set and stamp round the edge of the card using the Colour Chemistry Sepia ink pad. Then take your red alcohol marker and edge the card with it. You can also do this with an ink pad if you prefer.

Finally after cutting out your Dragons and discs matt and layer the card and mount the onto it.

Thanks for Looking 

Love Doreen

Saturday 17 October 2015

Apache Blessing


Apache Blessing

Products required in the making of this card include :


Green Oak
Sepia
Triple Meadow Greens
Triple Sky Blues
Triple Sunshine Yellows

Stamps required :


Clear Embossing Powder
Versafine Onyx Black Ink Pad
3mm Foam Pads
A little glue 
Hexagon Dies
One 6x6 square pre-scored linen card


Taking card and a 5.5 inch die, place the die off the folded side of the card and tape into place ready to cut. 


For the Topper

Cut one piece of the A4 card in two and ink one piece using a soft stencil brush starting at the top with the Triple Sky Blue, blend into the card, next add the Triple Sunshine Yellow allowing it to blend into the blue. Tear a piece of paper to make some hills with and taking the lightest of the Triple Meadow Greens place torn paper at an angle to imitate hills, taking care to leave a small area of white in the centre valley. As the hills get closer use the other darker colours towards the bottom of the card.


Take the 4.75 inch die and place over the inked card, and stamp the Apache Blessing into the centre, remove the die and emboss with the clear embossing powder. Then replace the die and tape in place ready for cutting.


 For the Frame

Having placed the 5 inch die onto the second piece of card, stamp the blessing again into the centre of the hexagon, there is no need to re-ink the stamp as it is just being used as a guide. Cut the topper and frame now. Remove dies.


  Stamp the Frame

Using 2 of the smallest leaves from the set randomly stamp around the hexagon using both the Green Oak and Sepia ink pads.


Mark the frame ready for cutting using 4 inch die, I used a pencil and marked the frame on the inside of the die.


Here is a photo of mine before I started cutting.


Putting the card together is the quick and easy part, glue the topper onto the folded card, and place foam pads on the inside of the frame. I found it helped before I cut the frame to mark on the inside of it the top of the frame to make it easier when it came to mounting it into place.

This is the finished card.


Thank you for looking 

Love Doreen

Sunday 4 October 2015


Oak House Studio


Hello everyone, I am so pleased to tell you that I have been invited to join the Design Team and so this is just a little announcement to let you know .... " I'm Back !! "

So many exciting things in the pipeline so I just can't wait to get started. 

Love Doreen 
http://oakhousestudio.blogspot.co.uk/

Tuesday 29 September 2015


Lavinia Stamps Challenge #9

Hot Bright Colours


Products used in the making of this card were:

Dylusion Paint - Squeezed Orange
Pebeo Dyna Paints - 354 Iridescent Red Blue
356 - Iridescent Violet Blue
359 - Iridescent Green Yellow
360 - Iridescent Blue Black
351 - Iridescent Silver


Thank you for looking 

Love Doreen


http://laviniastamps.com/blog/category/the-challenge/

Thursday 30 July 2015

Sun, Sea and Sand .....


Sun, Sea and Sand

My entry for the Hobby Art July Challenge.


Stages of preparation and bringing together the finished product.


Gesso all the mdf.


Cover the front,back,sides and doors with Wood paper.


Paint with the lightest of your choice of colours.


Randomly go over the top of the lightest colour with a darker shade to give a streaked effect.

When this is dry put all the pieces together and assemble onto the base. 

The ' sand ' effect has been made by firstly using texture paste over the base then with a mix of glitters and a small amount of yellow flock  I sprinkled this over the texture paste pressing it in to the paste very lightly. 

I then painted the palm trees and used them as posts to secure the banner in place with Sun,Sea and Sand words stamped onto it along with some seagulls.


The surf board was simply painted and then using a stencil decorated and placed in front of the Trio of Beach Huts.


Thank you for looking 

Love Doreen 

Friday 24 July 2015

Lavinia Challenge #7


Add a Flower or Flowers


Products used in the making of this Brush Pot were


Stamp by Lavinia 
White Gesso 
Indigo Blu English Cottage Acrylic Paints colours :
1. Frosty Sky 
2.Park Lane
Archival ink pad Hydrangea
Clear embossing powder


Both front and back are the same but the 2 sides are as above.


Thanks for looking

Love Doreen


Sunday 28 June 2015

Seaside Challenge for Hobby Arts


Beach Hut Drawers


Using Hobby Arts Stamps 

Front view

 Left Side

 Right Side


I have entered this into the Seaside Challenge this month with Hobby Arts.
The drawers are MDF and firstly gessoed and then stamped and painted using Pebeo Acrylic and Pebeo Dyna Paint.

Thank you for looking 

Love Doreen

Tuesday 23 June 2015

2nd Entry for Chocolate Baroque Challenge Twelve


2nd Chocolate Baroque Entry for Challenge Twelve


Products used for this entry are as follows ;

Chocolate Baroque Pretty Poppies stamp set 
Texture Paste
Centura Pearl Card
Pan Pastels Bronze and Phthalo Blue Shade
Wink of Stella Brush Pens

Thank you for looking 

Love Doreen 

Saturday 20 June 2015

Lavinia Stamps Challenge #6


Lavinia Stamps Challenge #6 


Using Watercolour card 
3 of the new coloured Distress Ink re-inkers ( Fossilized Amber, Abandoned Coral and Hickory Smoke ) 
Wink of Stella 
White Posca pen

Thank you for looking 

Love Doreen 

Thursday 18 June 2015

Chocolate Baroque Challenge Twelve

Chocolate Baroque Challenge Twelve


Just a small tag using Distress Ink Pads using stamps from the Sunburst Scenes set and the Landscape Edges set . 

Hope you like the first of my entries for this months challenge.

Thank you for looking 

Love Doreen


Friday 22 May 2015

Chocolate Baroque Colour Challenge Eleven


Chocolate Baroque Colour Challenge Eleven


Products used in the making of this card were :

Chocolate Baroque Mermaid Queen stamp set
Spectrum Noir Aquatint inks
Versafine Onyx Black ink pad
Clear embossing powder
DecoArt Media Liquid Glass
Clear Wink of Stella brush pen

Thoroughly enjoyed making this card and I am pleased with the end result.

Thank You for Looking

Love Doreen


Tuesday 19 May 2015

Lavinia Stamps Challenge #5 Blue or Pink or Both

Lavinia Stamps Challenge #5 

Blue or Pink or Both 


Products used in making this were : 

Dylusions spray inks 
Micro Beads 
Stickles 
White Acrylic paint
Piece of Ribbon 
Jet Black Archival Ink Pad 
Clear embossing powder


Thank you for looking

Love Doreen

Sunday 17 May 2015

Northern Lights technique using Chocolate Baroque Stamps

Northern Lights


Products used in the making of this card were :

Silhouette Stamp ... June's Fairy by Chocolate Baroque
Distress Ink Re-Inkers colours used : Abandoned Coral, Fossilized Amber, Dusty Concord, Weathered Wood and Black Soot.
2 small square pieces of Cut and Dry Foam
A5 piece of Watercolour card (this will be cut down slightly for matting and layering) 
A5 piece of coordinating colour card for matting and layering
Blank Card for mounting
Goosebumps Clear texture spray
 Clear embossing powder
Black Ink Pad


I was asked to do a blog on this technique so will explain as well as I can.

1. Firstly put a couple of drops of each colour of the distress inks onto a white tile, as they are very concentrated I leave the re-inker bottle behind the drops and end up with the different colours spaced out with the drops around the top and right hand side of the tile. 

2. Stamp and emboss main image. 

3. Spray goosebumps the bigger you want the drops the closer you need to be to the card when you spray. In the above picture I held the card at arms length to spray. Leave to dry or you can use your heat gun to speed this along.

4. Use any other silhouette stamps to help make your background scene you can leave these as they are or emboss them.

5. Working from the main image take a piece of cut and dry and pick up some of the ink of your choice, taking care not to wet the sponge as it is so easy to use too much and ruin your work, work in a circular movement around the main image,  then gradually work your way out until you are happy with the result. Use the weathered wood to make an illusion of hills etc. Then at the very final stage cut the piece down to the size you desire and use the black soot to go all around the outside of the card and to tone down any areas you are not happy with. I used a a seperate piece of the cut and dry for this. 


Before I go here is the disaster that happened when I added ink to the card before checking the colour and getting rid of some on a scrap of paper ..... I couldn't rectify it so it is now in the bin !! lol


Thanks for looking and I hope this is helpful 

Love Doreen


Thursday 30 April 2015


Hobby Art  " Wings Challenge "


Products used in the making of this card

Hobby Arts Floral Bird House set
Versafine Onyx Ink Pad
Brusho's
Distress Inks 
Watercolour Card


Firstly I sprinkled a mix of brusho's onto the watercolour card and misted with water. Leave to dry or blot with tissue and dry off with heat gun.

Stamp Birdhouse and butterflies and using just a dot of inks ( I used Mermaid Lagoon, Abandoned Coral and Fossilized Amber ) and water mix colours to the shade you like and paint as normal. 

I then decided I would like a border so used the small individual stamp from the set and stamped randomly round the edge and off the edge to form the border. 

Matt and Layer in the usual way. 

Thank you for Looking 

Love Doreen